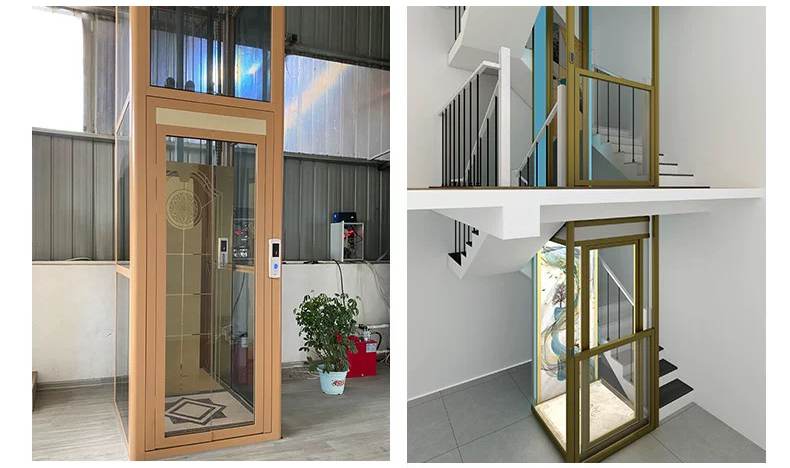
If you’re tired of hauling heavy boxes up and down a ladder to your attic, installing a residential attic lift can be a game-changer. Whether you need an attic lift for garage storage or easy access to your home’s upper storage space, a DIY attic lift system is a practical solution. In this guide, we’ll walk you through how to build and install an attic elevator lift using an attic lift kit—saving your time, effort, and potential back strain.

Why Install an Attic Lift?
An attic lift system provides a safe and efficient way to transport items between floors without manual lifting. Benefits include:
-
Convenience – Move heavy or bulky items effortlessly.
-
Safety – Reduces the risk of ladder-related injuries.
-
Space Efficiency – Perfect for garages, workshops, or homes with limited stair access.
Choosing the Right Attic Lift System
Before starting your attic lift DIY project, consider the following:
-
Weight Capacity – Most attic lift kits support 500-800 lbs. Choose one that fits your needs.
-
Power Source – Electric lifts are easiest, but manual or pulley-based systems are budget-friendly.
-
Installation Space – Measure your attic opening to ensure the lift fits properly.
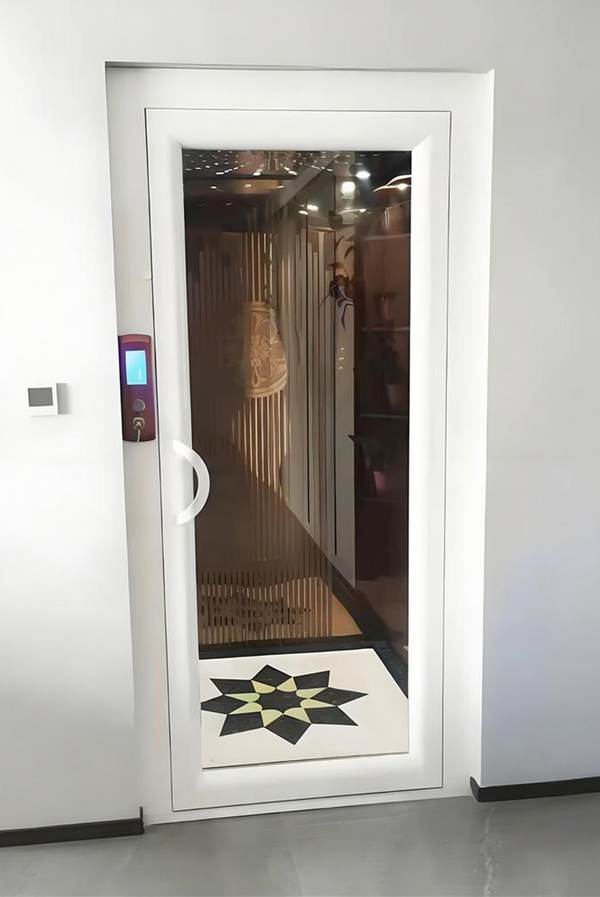
Basic Safety Features for an attic lift system.
When installing a home attic lift, safety is the most critical factor. Any reputable home lift must include:
- Manual lowering valve: located on the motor, the manual lowering valve can be opened to safely lower the car to ground floor.
- Battery Back-Up System: If there is a power cut while using the elevator, it can be driven to the lower level of the home and will then wait until the power comes back on to resume normal service.
- Safety pan under platform, platform will stops if any barrier under the platform.
- Safety gear for prevent the elevator dropping if safety rope breaks.
- Automatic voice fault alerts if the elevator system found any faults during operation.
- Car door safety switch: The lift will not moves if the doors are not closed.

Materials & Tools Needed
For a basic residential attic lift, you’ll need:
-
Attic lift kit (includes motor, cables, and platform)
-
Sturdy wooden or metal frame
-
Mounting hardware (bolts, brackets)
-
Plywood for the lift platform
-
Drill, wrenches, and measuring tape
Step-by-Step Installation Guide

1. Prepare the Attic Opening
-
Measure and reinforce the attic hatch to support the lift’s weight.
-
Install a solid frame around the opening for stability.
2. Assemble the Lift Mechanism
-
Follow the attic lift kit instructions to mount the motor and pulley system.
-
Secure the cables or chains to the lifting platform.
3. Build the Lift Platform
-
Cut plywood to the desired size (typically 3’x4’ or larger).
-
Attach guide rails to prevent swinging during operation.
4. Install Safety Features
-
Add a locking mechanism to secure the platform when not in use.
-
Ensure emergency stop functionality for electric lifts.
5. Test the System
-
Load lightweight items first to check balance and stability.
-
Gradually increase weight to ensure smooth operation.
Watch The Home Attic Lift Feedback Video From Our Customer:
Maintenance Tips
-
Regularly inspect cables and pulleys for wear.
-
Lubricate moving parts to prevent squeaking or sticking.
-
Check electrical connections (for motorized attic elevator lifts).
Building an attic lift for garage or home storage is a rewarding DIY attic lift project that enhances accessibility and safety. By using a reliable attic lift kit, you can customize a system that fits your space and needs.
Interested in Install an Attic Lift System for Your Home? Contact us for a free consultation!
